Test Title 1


Showing posts with label felt friday. Show all posts

felt friday: snowmum pillow

happy friday, folks!

what a busy busy week. monday was valentine's day. tuesday we had small group through our church. wednesday's after work drink w/ my friend samantha turned into a fantastic evening out. and last night wade and i spent the evening w/ ellen of black and white and loved all over, her wonderful husband nekos and their darling 11 month old, tessa. it was a fantastic evening of fine food and 50-something weather - the perfect conditions for a backyard fire.

works been a bit mad this week too! 4 upcoming photo shoots to art direct! yay!

all that to say ... i didn't get around to finishing as many pillows as i had ANTICIPATED this week. but i'm pretty satisfied with the one that i did get around to finishing:


{oh yes - that is our $150 craigslist couch!}

i love amy butler designs - and especially love her FREE (that's right i said free) online patterns.

for this pillow, i modified her snow mum pillow pattern. i followed her steps to create perfect felt mum. but instead of creating the body of the pillow out of felt - i used left over burlap and the linen i used on wade's valentine's day saddlebags.


i went ahead and made 2 more basic burlap pillows ... now to add details. monday is president's day ... so that is my goal! i love days when i don't have to work!!! :)

happy looooong weekend!

felt friday/Fri-DIY: felt pansies!

i had a blog friend ask me a while back to post a DIY on felt flowers. i can't believe i'm just getting around to this today ... but w/ another snow in nashville - i am definitely getting spring fever.

enjoy!

supplies:
* 1 sheet of felt for your petals
* 1 sheet of felt for your leaves
* embroidery thread & needle
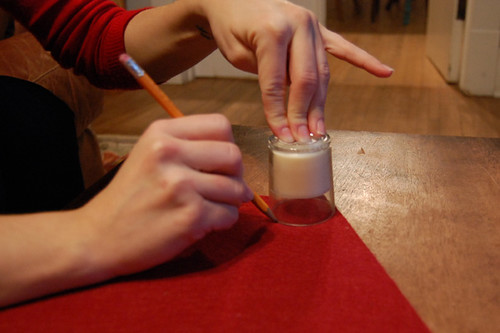
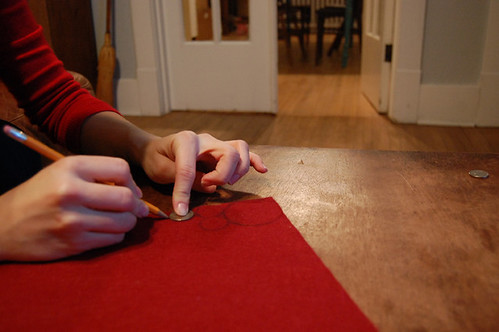
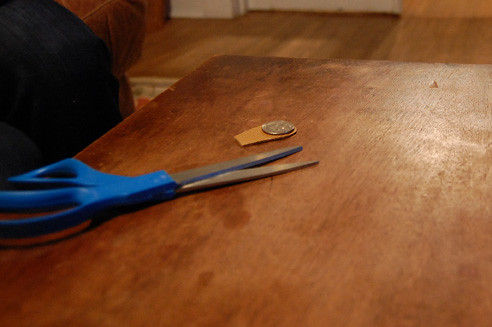
* 2 circle templates or circular items to trace (i used a votive candle and a quarter)
* pencil
* scissors

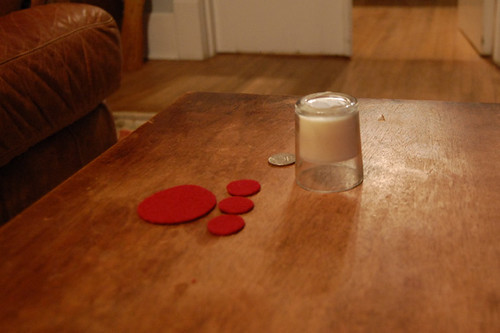
step 1) trace & cut out 1 big circle and 3 little circles per pansy.

felt pansy - step 1
felt pansy - step 2
felt pansy - step 3

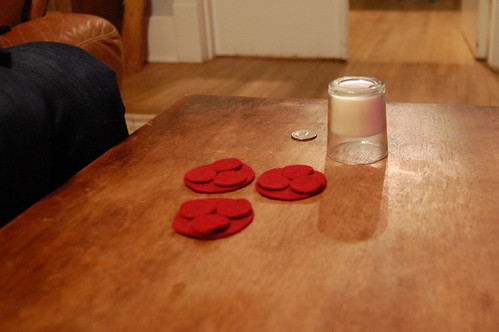
step 2) place the 3 little circles on top of the big circle so that they meet in the middle.

felt pansy - step 4

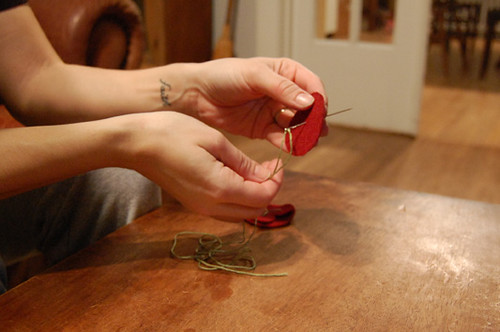
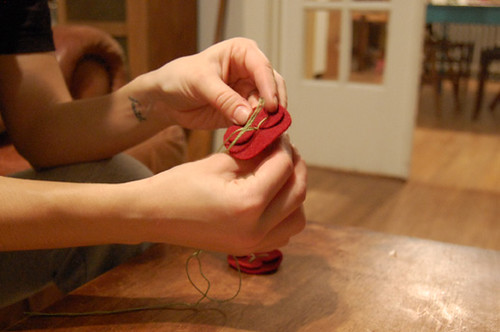
step 3) take your needle through the middle of the big circle.

felt pansy - step 5

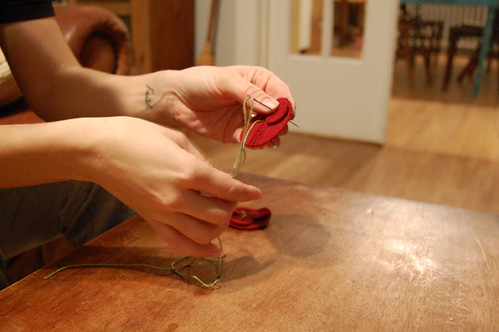
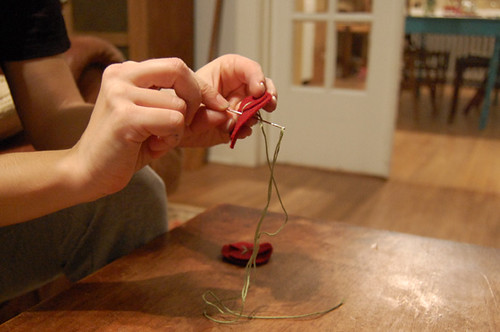
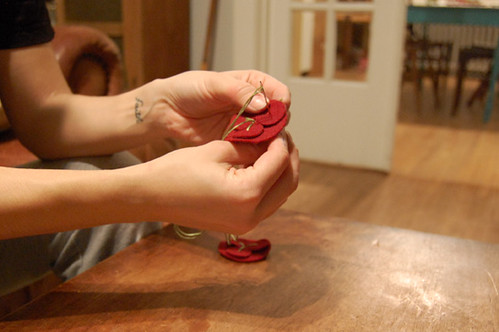
then sew through the middle of the first little circle and back to the center. i reinforced my stitch by then going through the same little circle again.

felt pansy - step 6
felt pansy - step 8

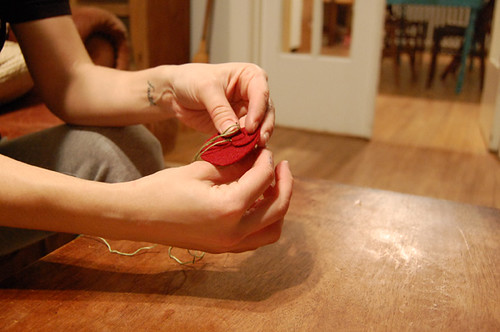
step 3) follow step 2 to add the other 2 circles. and then tie a knot on the back side.

felt pansy - step 7
felt pansy - step 9
felt pansy - step 10

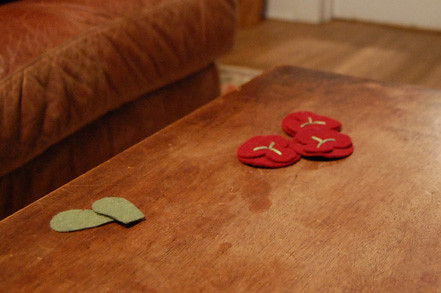
step 4) i used my quarter again to trace out leaves.

felt pansy - step 11

here's what we have so far:

felt pansy - step 12

step 5) i added a little midrib of 2 stitches to each leaf. {woops! i didn't photograph this step!}

step 6) carefully i stitched the parts together so that the stitching didn't show on the right side.

felt pansy - final

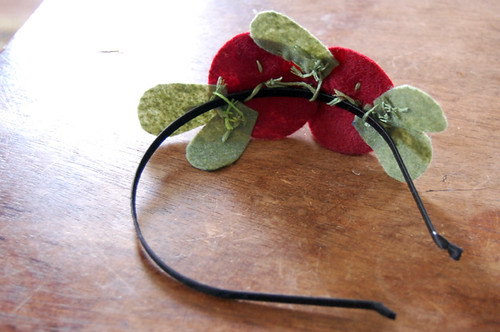
my wrong side loooks AWFUL. and i wouldn't give it to anybody like this. ha! but it made it easy to loop a headband through some of the bigger stitches. to clean the wrong side up a bit - you could add a piece of felt over the stitches!

felt pansy - step 13

voila! :)

felt pansy - final 2
{self-portrait pictures are my archnemesis!
maybe i'll post a separate blog with all the AWFUL pictures i captured!}

felt friday: christmas inspired

thank you to all the ladies that were able to make time during this busy holiday season for the cookie swap last night. it was the perfect random assortment of lovelies. and i feel it was a delicious success! i couldn't even begin to choose a favorite! everything was so yummy! but an honorable mention ... simply because i've never tried them before ... ellen of black & white & loved all over's coconut macaroons. i must get the recipe! (Lord - please don't allow me to be allergic to coconut!!!)

speaking of ... i've had a ridiculous rash again all week - head to toe. the 2nd time this month. stupid food allergies. i noticed it after my office potluck ... and there's really no telling what i am reacting to this time around. so last night ... sugar high, i decided to pop a couple of benedryl and hit the sack.

this of course meant that i didn't stay up to finish my little felt project for the week. :( sorry, folks. instead i'll share a little love for other crafty women throughout the blogosphere. and they're fantastic christmas felt decorations:

1) the perfect topper to any crafter's christmas package ... felt bows via big box detox (check out kristen & eric's site for a DIY!). reuse your bow with a safety pin for a cute festive broach! :


2) cute felt christmas trees via scissor variations (check out janice's site for the DIY). okay okay - so i'm really in to "shingling" this year since my old book mistletoe {craft}ernoon. i absolutely love these trees and even the exposed pins for a bit of shimmer:


3) adorable felt mitten coasters via lil fish studios. i especially love the story behind the felt! lisa made the felt for the mittens from a wool coat a friend had given her several years ago. not only had her friend's 2 boys worn it but then three of lisa's children had worn it. sweet memories ...


4) this one might surprise my husband because i am ALL about white lights and muted tones in our apt ... but i LOVE this festive felt garland via small bird! adorable! a must make. check out a felt garland DIY via the purl bee - here!


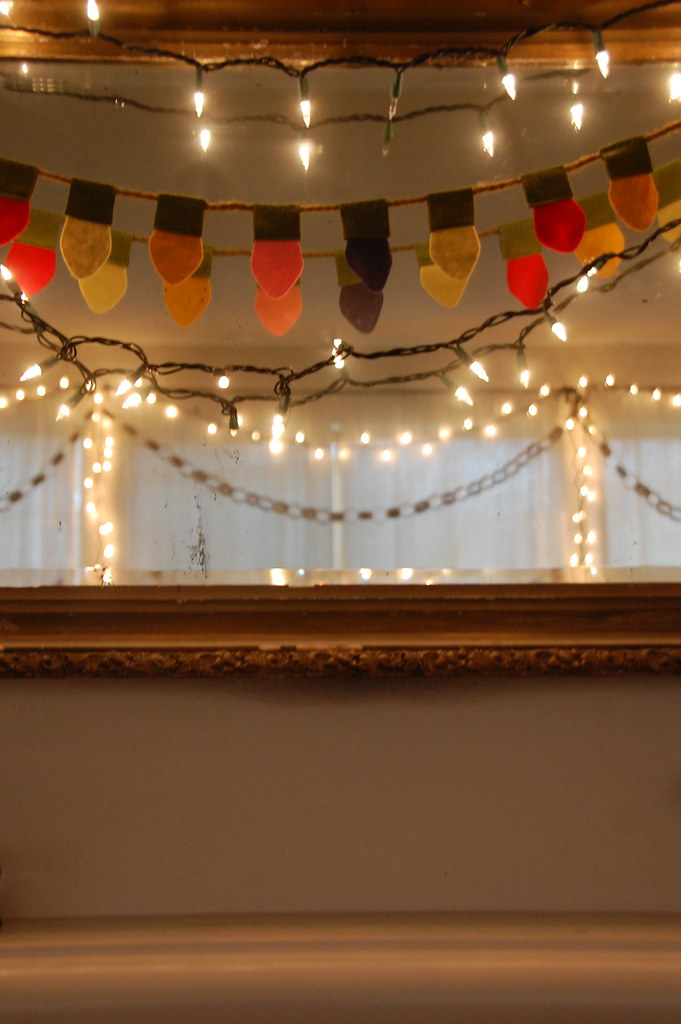
5) and another one to surprise wade ... these felt christmas lights via cakies. cute as can be! i love everything that ruby ellen does with her 3 beautiful little girls. such a darling mommy.


do you have any favorite felt christmas decs that i am missing out on!?!
do share!

felt friday: felt advent calendars

discovered a new blog yesterday - homemade by jill. unfortunately i discovered it too late to get on board with this craft this year. fortunately we don't have little ones at home yet to enjoy it!. so i wanted to share (and blog a reminder for next year)!!!

jill set up an advent calendar sew-along inspired by this lovely pottery barn kids advent calendar:


{photo courtesy: pb kids}

the challenge: every weds in december she sent out instructions for the week.

week 1:
  • cut your main backing piece (her backing - 20x30 inches)
  • cut your felt pockets and embroider them with numbers 1-24 (her pockets - 2 1/2 inches square). she used tight chain stitch to embroider the numbers.
  • sew the pockets to the backing piece
week 2:
  • cut your tree shape
  • sew the tree to your backing piece
  • sew 8 ornaments
week 3:
  • sew on all 24 buttons
  • make 8 more ornaments
week 4:
  • make 8 ornaments
  • sew any additional embellishments to the main calendar pieces.
  • se the front and back pieces of the calendar together.
  • add tabs to the top to hang. you'll also need a dowel to hang it from.
  • put it on display and enjoy!
the results:


{photo courtesty: homemade by jill}

i love her little details:


{photo courtesty: homemade by jill}

and of course i wanted to include a few pictures from the ladies that joined the sew-along! what a success.


wow - details details.
{photo courtesy: Katie of So Happy}


personal touches for each member of her family.
{photo courtesy: little birds fly}


i just LOVE this felt friday share. and am so inspired!!! anyone interested in doing something like this with me next year? and in the meantime ... a non christmas themed sew-along? something for spring? ... hmm brainstorming session necessary!

felt friday/fri-DIY: felt wreath

i have a new found love for the fuzzy stuff ... and a deep desire to organize the blog a bit more. so ... introducing FELT FRIDAYS! i'm going to do a feature on felt each friday - whether that be inspiration or {craft}ernoons. it depends how i'm "felt-ing" that week. okay that was purposefully cheesy. ;)

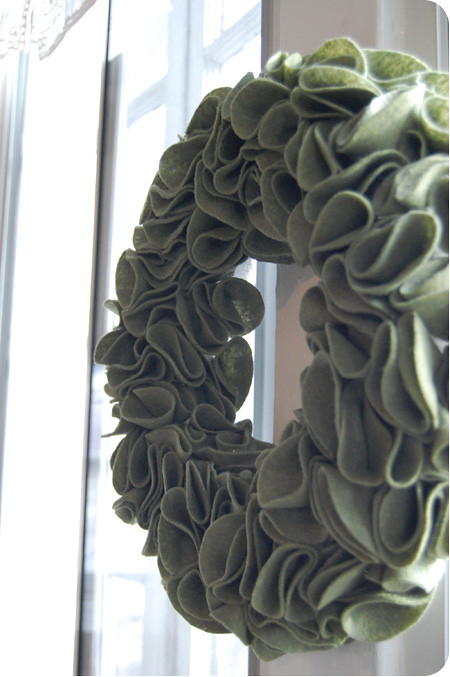
for today ... a {craft}ernoon: felt wreath.

felt fridays - {craft}ernoon: felt wreath - final 2

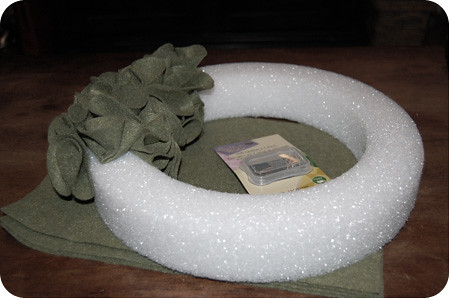
supplies:
* felt (lots and lots of felt) ... i think i used 24 8x10 squares.
* pins
* Styrofoam wreath
* scissors
* patience!

directions:

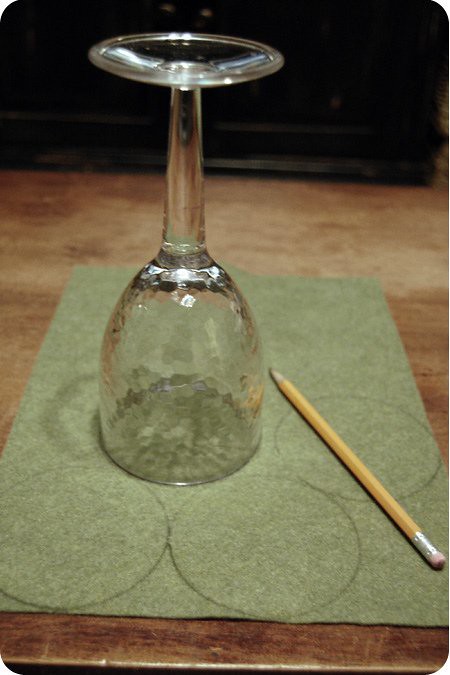
step 1) trace and cut out several circles.

felt fridays - {craft}ernoon: felt wreath - step 1

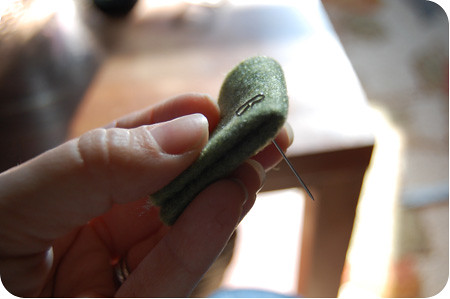
step 2) fold each circle in half and then in half again - would that be "fold it in quarter?"

felt fridays - {craft}ernoon: felt wreath - step 2

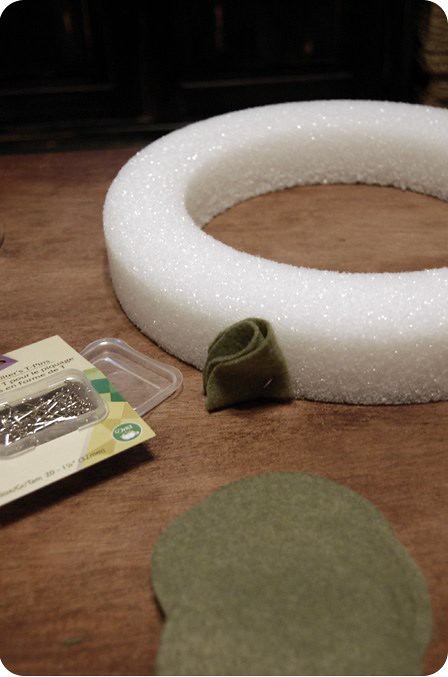
step 3) with your pin, add each quartered circle to the Styrofoam wreath.

felt fridays - {craft}ernoon: felt wreath - step 3

step 4) continue varying your quartered circles and fluffing to fill any gaps.

felt fridays - {craft}ernoon: felt wreath - step 4

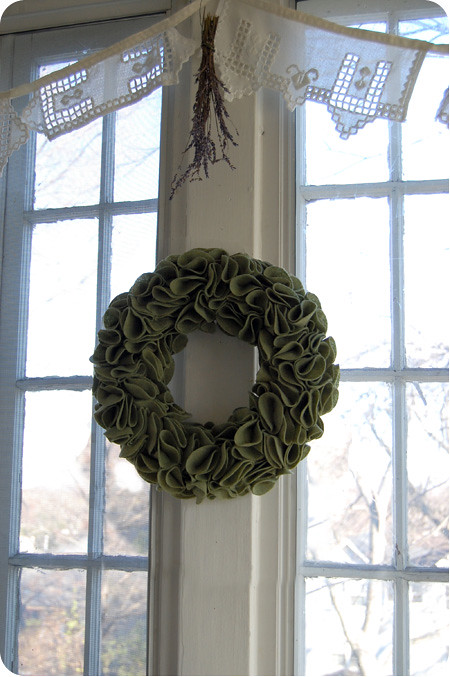
and ... voila:

felt fridays - {craft}ernoon: felt wreath - final 1

one fantastic felt wreath.

i have to admit that this is my favorite wreath in our apartment. {it took a little convincing for wade - he just loves fresh greenery!} i'd love to make a few more ... but i'm not sure i have the patience to do another. ha! :) it not the pinning that takes time but the cutting. plus felt tends to pull a little.

enjoy! and if you make your own - be sure to send me a link to your picture. xo.
Related Posts Plugin for WordPress, Blogger...
Read more: http://www.scratchtheweb.com/2013/05/how-to-show-disqus-comment-count-links.html#ixzz2bxYckbeB Follow us: @scratchtheweb on Twitter | scratchtheweb on Facebook