


enjoy!
supplies:
* 1 sheet of felt for your petals
* 1 sheet of felt for your leaves
* embroidery thread & needle
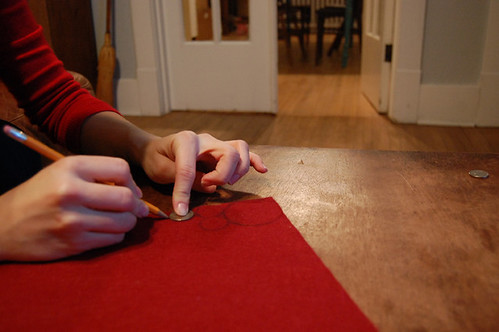
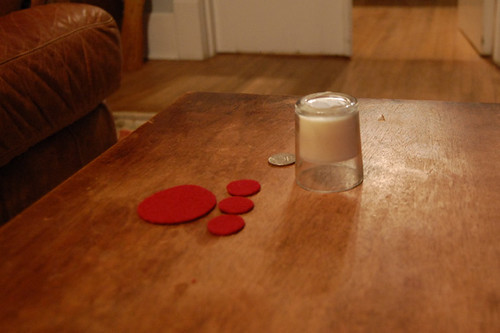
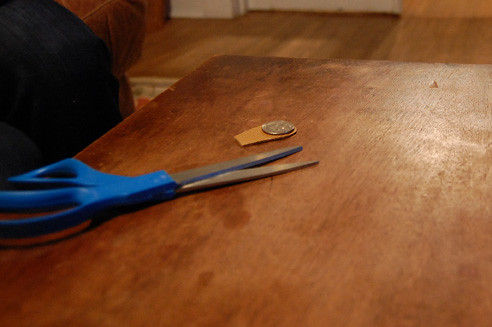
* 2 circle templates or circular items to trace (i used a votive candle and a quarter)
* pencil
* scissors
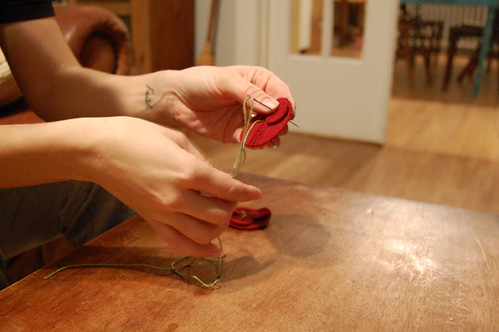
step 1) trace & cut out 1 big circle and 3 little circles per pansy.

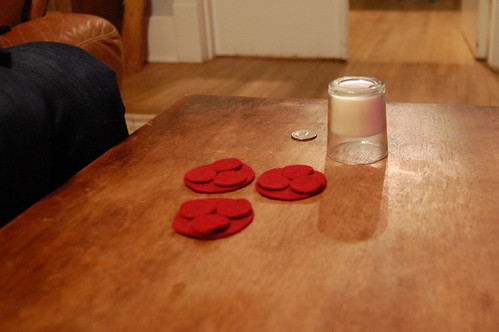
step 2) place the 3 little circles on top of the big circle so that they meet in the middle.
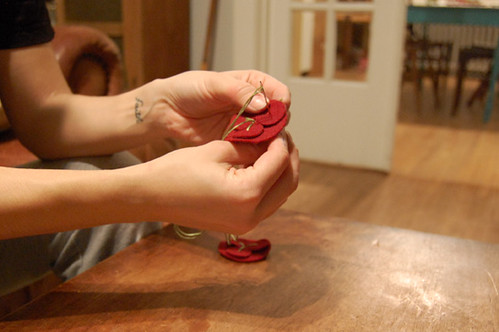
step 3) take your needle through the middle of the big circle.
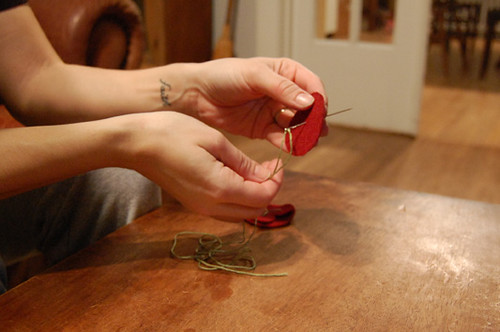
then sew through the middle of the first little circle and back to the center. i reinforced my stitch by then going through the same little circle again.
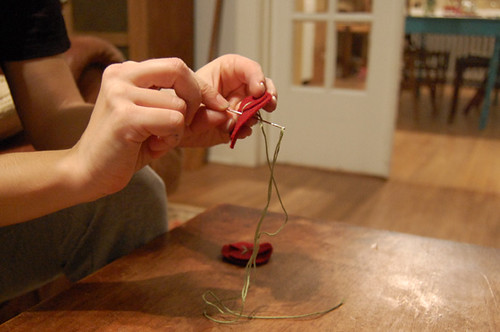
step 3) follow step 2 to add the other 2 circles. and then tie a knot on the back side.
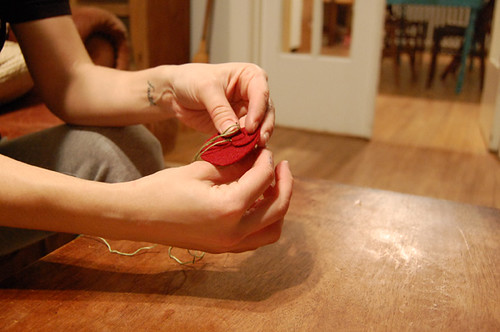
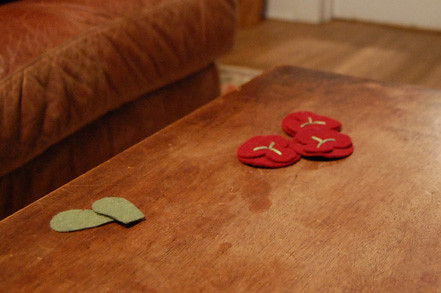
step 4) i used my quarter again to trace out leaves.
here's what we have so far:
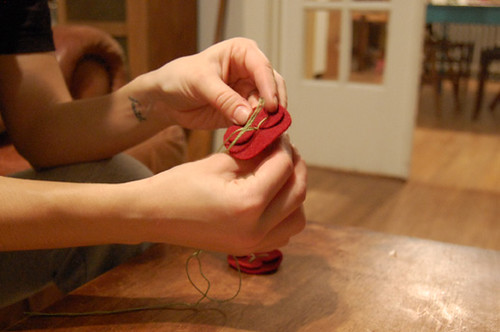
step 5) i added a little midrib of 2 stitches to each leaf. {woops! i didn't photograph this step!}
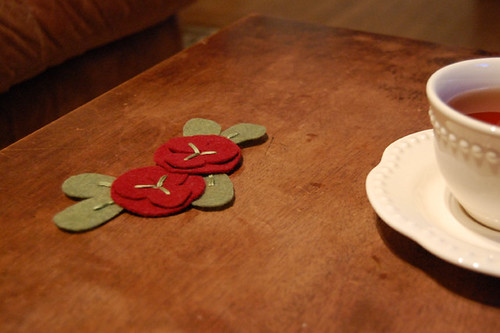
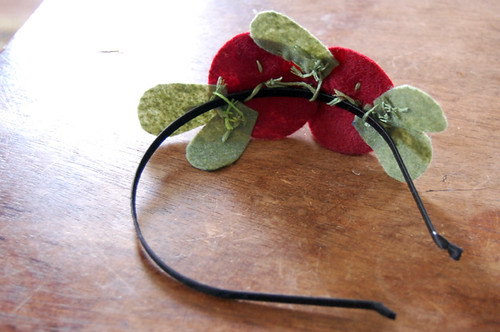
step 6) carefully i stitched the parts together so that the stitching didn't show on the right side.
step 6) carefully i stitched the parts together so that the stitching didn't show on the right side.
my wrong side loooks AWFUL. and i wouldn't give it to anybody like this. ha! but it made it easy to loop a headband through some of the bigger stitches. to clean the wrong side up a bit - you could add a piece of felt over the stitches!
voila! :)

{self-portrait pictures are my archnemesis!
maybe i'll post a separate blog with all the AWFUL pictures i captured!}

3 comments :
I'm so excited! This is adorable! I can't wait to try it!
By the way, my friend and I are trying your felt wreath except in the heart shape for Valentines! Although, I love your berry wreath, too. Decisions, decisions.
OK, I just made one of these! I love how it turned out!! I need to email you a picture of it. :) Thanks for the tutorial!
Here are photo links:
http://www.flickr.com/photos/blackandwhiteandlovedallover/5382599101/
http://www.flickr.com/photos/blackandwhiteandlovedallover/5383202776/in/photostream/
:)
Post a Comment