


remember how i lost my camera on our way home from morocco? well now we share wade's camera ... and the card reader on his work computer. yikes. we really need to invest in a new card reader - but in the meantime ... i wait patiently {okay somewhat patiently} for him to find a little free time while at the office.
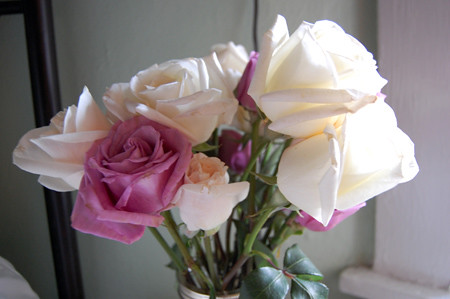
but i must say, it was worth the wait. keelie and eric sent us home with a bundle of flowers from the wedding - perfect for staging. if only i always had live flowers scattered around the house.
first the reveal of our illinois finds:
1) remember this guy?
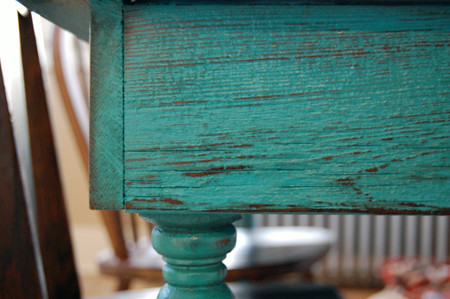
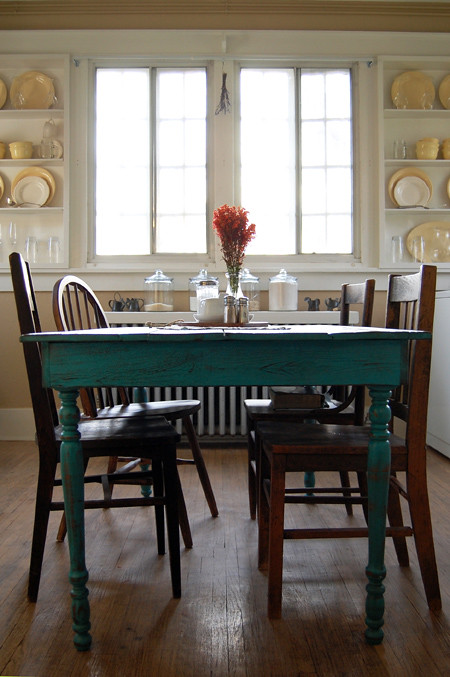
introducing ... our brand new kitchen table:

2) and remember this guy?

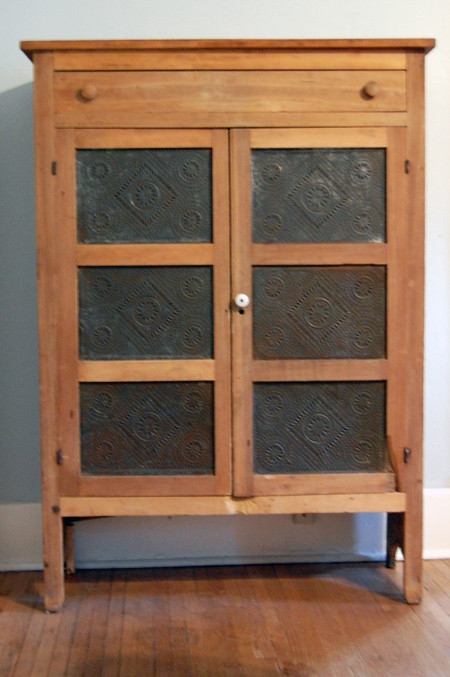
introducing ... our brand new (okay ... 150 or so year old) pie safe.
introducing ... our brand new kitchen table:
yes - it's teal! wade and i didn't set out to buy a teal kitchen table. but we instantly fell in love with it. it gives the kitchen a whimsical feel. (suitable - we found it at wonderland - that antique store we came upon in palestine, il.) and works with our neutral dishware.
{any idea what those orange flowers are??? i love them! esp against the teal.}
2) and remember this guy?
introducing ... our brand new (okay ... 150 or so year old) pie safe.
i wasn't going to reveal her yet - as we still haven't unpacked our china. but soon - very soon - this will be our china cabinet. super thrilled!
we had been looking for a painted pie safe in a robin's egg blue or other pastel ... but couldn't pass up the deal that we got on this one (again in palestine, il). and w/ a teal kitchen table, i think we made a wise decision.
----------------------------
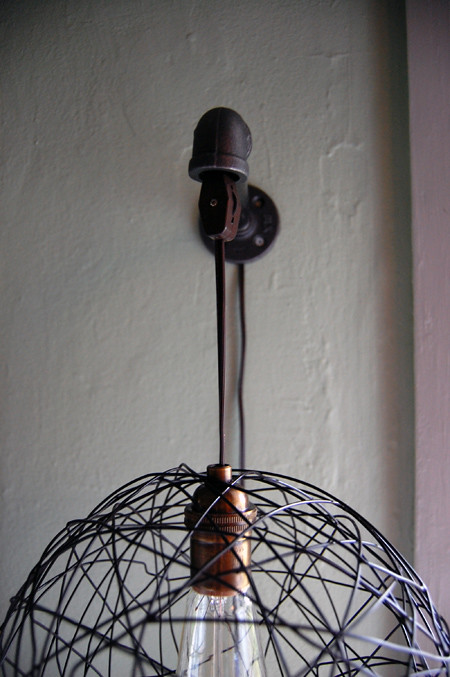
last but not least ... a little update on our DIY bedside lights:
supplies per lamp:
* whatever you choose to use as your lampshade. we found our "decorative balls" (that's what it said on the shelf) at target for $9.99 each.
* paper lamp cordset w/ cordswitch (we ordered this from www.grandbrass.com)
* socket (again we ordered this from www.grandbrass.com)
* light bulb - we went with filament light bulbs from pottery barn bc we knew they would show.
instead of hanging the lamps from the ceiling we used pipe to create a wall-bracket:
* flange (from hardware store)
* 8" pipe (from hardware store)
* 90º elbow (from hardware store)
wade cut off the butterfly socket on the paper lamp cordset and replaced it with the brass socket. we decided that we wanted the cordswitch to sit just below the 90º elbow so we cut and reconnected the cord to the cordswitch once it was cut to the right length and filtered through the pipe wall-bracket.
luckily wade knew exactly what to do! but for those who haven't worked with lamps before ... i found a great tutorial on DIY hanging lamps @ shamelessmag.com.
and the outcome:
we had been looking for a painted pie safe in a robin's egg blue or other pastel ... but couldn't pass up the deal that we got on this one (again in palestine, il). and w/ a teal kitchen table, i think we made a wise decision.
----------------------------
last but not least ... a little update on our DIY bedside lights:
supplies per lamp:
* whatever you choose to use as your lampshade. we found our "decorative balls" (that's what it said on the shelf) at target for $9.99 each.
* paper lamp cordset w/ cordswitch (we ordered this from www.grandbrass.com)
* socket (again we ordered this from www.grandbrass.com)
* light bulb - we went with filament light bulbs from pottery barn bc we knew they would show.
instead of hanging the lamps from the ceiling we used pipe to create a wall-bracket:
* flange (from hardware store)
* 8" pipe (from hardware store)
* 90º elbow (from hardware store)
wade cut off the butterfly socket on the paper lamp cordset and replaced it with the brass socket. we decided that we wanted the cordswitch to sit just below the 90º elbow so we cut and reconnected the cord to the cordswitch once it was cut to the right length and filtered through the pipe wall-bracket.
luckily wade knew exactly what to do! but for those who haven't worked with lamps before ... i found a great tutorial on DIY hanging lamps @ shamelessmag.com.
and the outcome:
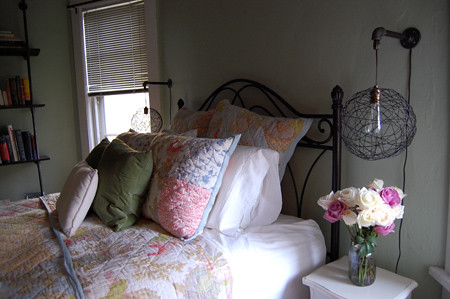
{by day}
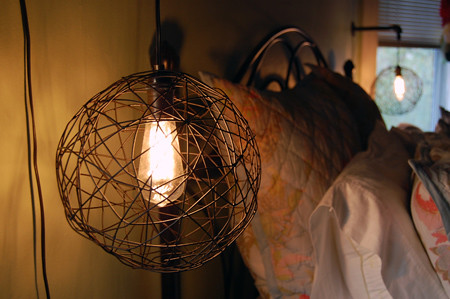
{by night}
well - what do you think? i've been seeing a lot of other great lamp DIYs online. including mason jars ... and one with an industrial sized whisk. loved it! however that would be quite the flea market find. any other ideas you've seen?
oh ... and one more beautiful bouquet from the wedding.

0 comments :
Post a Comment