


well i decided (while blogging about them) that they would make the perfect stencil for the extra burlap pillow i had for the couch. and this gave me a good excuse to share a quick how to for stenciling.
what you'll need:
- the image you want to stencil
- transparency paper + printer
- exact-o knife and self-healing mat
- dome paint brush (the kind w/ a round tip)
- acrylic paint (or fabric paint if you plan to wash your pillowcase)
- paper plate & paper towel & parchment paper
- pillowcase
i didn't document the making of the pillow - so you'll have to either purchase a pillow case or make your own (i used the pillow instructions from amy butler design's snow mum pattern).
directions:
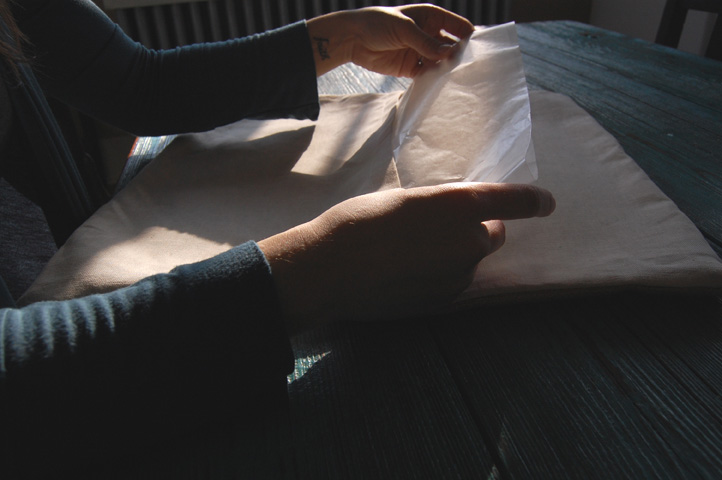
1) since the chair decal was already on a thick parchment paper - i could use the parchment paper as my stencil cutting the decal directly on it. for my wedding runners, i designed the monogram in illustrator and then printed it on transparency paper. be sure to use a coated paper so that the paint doesn't soak through the paper.
2) using your exact-o knife and self-healing mat, carefully cut out your stencil. you'll want to connect any lose pieces w/ little "tabs" to the remainder of the stencil. (example, see image 2 i connected the center of the chair to the outside of the stencil in 3 places.)


what you'll need:
- the image you want to stencil
- transparency paper + printer
- exact-o knife and self-healing mat
- dome paint brush (the kind w/ a round tip)
- acrylic paint (or fabric paint if you plan to wash your pillowcase)
- paper plate & paper towel & parchment paper
- pillowcase
i didn't document the making of the pillow - so you'll have to either purchase a pillow case or make your own (i used the pillow instructions from amy butler design's snow mum pattern).
directions:
1) since the chair decal was already on a thick parchment paper - i could use the parchment paper as my stencil cutting the decal directly on it. for my wedding runners, i designed the monogram in illustrator and then printed it on transparency paper. be sure to use a coated paper so that the paint doesn't soak through the paper.
2) using your exact-o knife and self-healing mat, carefully cut out your stencil. you'll want to connect any lose pieces w/ little "tabs" to the remainder of the stencil. (example, see image 2 i connected the center of the chair to the outside of the stencil in 3 places.)
3) to keep the stencil from bleeding through, slip a piece of parchment paper inside the pillow behind where you plan to stencil.
4) decide on your placement. for this pillow, i decided to add it directly to the center of the pillow. for my wedding runners, i wanted them to look like they printed on an old press and cut in long varying strips ... so it took quite a bit more planning. you can either plan to hold it carefully in place as you stencil OR tape it in place w/ masking tape.
5) time to stencil! the trick is a VERY dry brush. you can always add a second layer for more coverage - but you can't take away. using your dome brush, add paint to the brush. then tap the brush on the paper towel until it barely has any paint left. tap or dab the loaded brush against the stencil openings (a technique called stippling).
6) that's it! let the stencil dry and then add pillow stuffing!
wade is concerned that there are too many pillows - ha! he's probably correct. so maybe i need to garage sale a couple of baskets or bins to store some in until we find a chair to match our $150 craigslist couch!
{i made the little ivory pillow out of a bedding i found at goodwill last weekend too.}
there it is ... now go and stencil! :)

3 comments :
Just came across your blog via picket fence blogs. I really like what you're up to and have added you to my subscriptions. Keep it up! :) - Staci
thanks for following, staci
Great job, love your pillows!
Post a Comment