


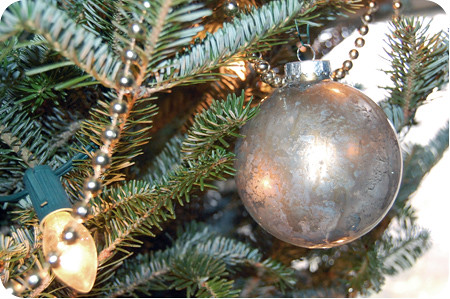
which got me to thinking about mercury glass christmas ornaments.

... lovely, right? {and again pb}
okay okay. so apparently - based on my googling - mercury glass was sort of the thing last christmas. but this is one bandwagon i don't mind jumping on late.
the problem: i'm cut off on decor this year. {okay not true. but we did just get married a little over 2 months ago ... i have plenty of new decorations around the house w/out going overboard for christmas.}
the solution: i decided to make my own!
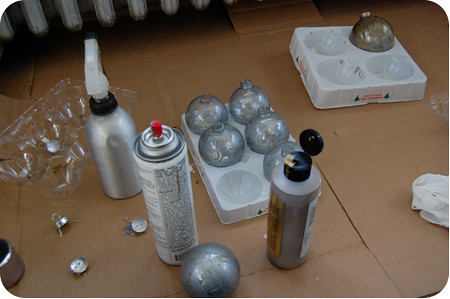
supplies:
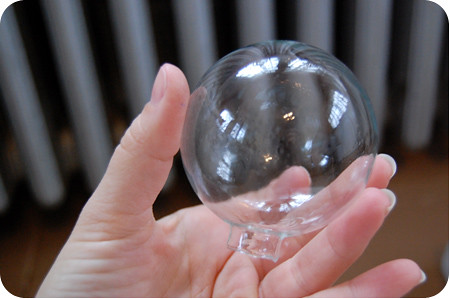
* clear glass ball ornaments. (hurry to michael's - they are 50% off!)
* can of metallic spray paint. i used krylon premium original chrome spray paint. if you can find it, pick up krylon's looking glass mirror-like spray paint
* a gold acrylic paint. i used decoart's dazzling metalic paint in glorious gold. i would consider a silvery gold ... like slightly tarnished silver.
* spray bottle of water
* blow dryer
directions:
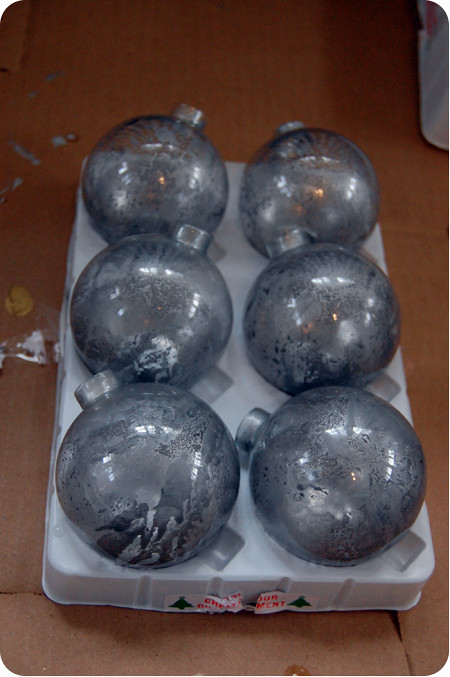
step 1) spray inside the first ornament ... then let excess water drain.

step 2) spray the chrome (or mirror-like) paint into the glass ornament. make sure to press lightly and rotate the ball until you have a couple light coats. {the lighter the coat the more iridescent the final product!}
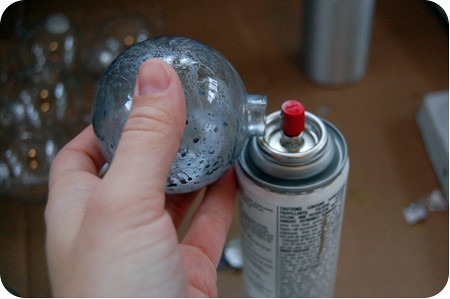
the moisture left in the ornament will cause the silver to separate.
continue to roll the ball in your hand until the entire inside has been reached by the silver paint.
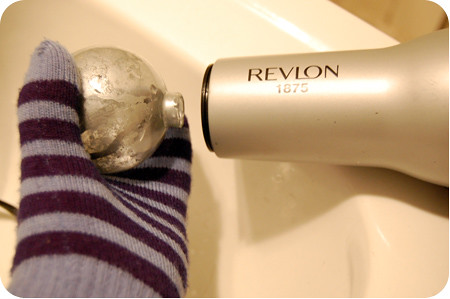
step 3) grab your blow dryer (and a pair of gloves). carefully blow into the opening of the ornament on medium high. continue to rotate as the paint dries. {emphasis on "carefully" because i might have dropped one!} occasionally ... empty out excess water once it separates from the silver paint.
step 4) though the silver paint is mostly dry, leave the ornaments to dry openings up overnight.

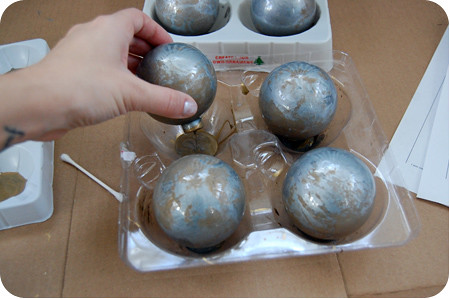
step 5) add the gold acrylic paint to each ornament and roll until they are coated in gold paint. then place upside down in a throw away tray to drain the extra paint. let them drain for several hours (or again overnight).
the moisture left in the ornament will cause the silver to separate.
continue to roll the ball in your hand until the entire inside has been reached by the silver paint.
step 4) though the silver paint is mostly dry, leave the ornaments to dry openings up overnight.
step 5) add the gold acrylic paint to each ornament and roll until they are coated in gold paint. then place upside down in a throw away tray to drain the extra paint. let them drain for several hours (or again overnight).
step 6) once again, blow dry until the paint is completely dry ... and shiny. {it will look a bit milky until it is completely dry.}
pop in the ornament tops ... and that's it!!!
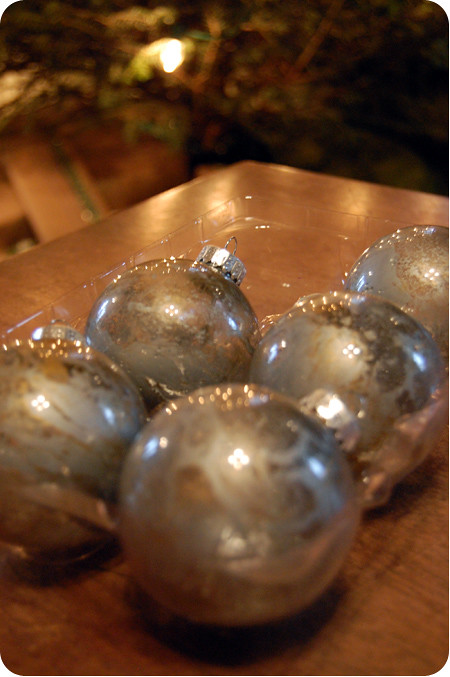
what do you think!?!
if i could change one thing - i would have ordered the mirror-like paint since i couldn't find it in town ... and practiced patience until it came in the mail. i think after the holiday, i'll order the paint and mercury-glass some hurricanes for the mantel. don't worry. i'll be sure to blog about it.
in other christmas tree news, the lace finally came in! wade and i are finally finishing up the tree tomorrow just in time to have friends over on friday. pictures coming soon!
pop in the ornament tops ... and that's it!!!
what do you think!?!
if i could change one thing - i would have ordered the mirror-like paint since i couldn't find it in town ... and practiced patience until it came in the mail. i think after the holiday, i'll order the paint and mercury-glass some hurricanes for the mantel. don't worry. i'll be sure to blog about it.
in other christmas tree news, the lace finally came in! wade and i are finally finishing up the tree tomorrow just in time to have friends over on friday. pictures coming soon!

0 comments :
Post a Comment